
Greetings, wrapalongers! Today we’re tackling arguably the trickiest bit of our dress making, putting in the sleeves. But no fear, we’ll be using the “sewing in the flat” method which is an awful lot easier than the traditional technique of setting in sleeves. It’s especially suited to knit fabrics as you can stretch in the ease, as you’ll see below. Apologies in advance that the photos aren’t fantastic – it’s extremely hard to show what’s happening with 3D sewing like this, but I will try to explain as well as I can!
First, lay your fabric down right side up, with the armhole up. Pin your shoulder seam allowance down to make sure it sits flat when you put the sleeve in (otherwise it can twist).

Place your sleeve on top of the armhole, right sides facing. Match up the notch at the top of the sleeve with the shoulder seam and pin. Make sure that the double notch (that I’m pointing to) is facing towards the back armhole.

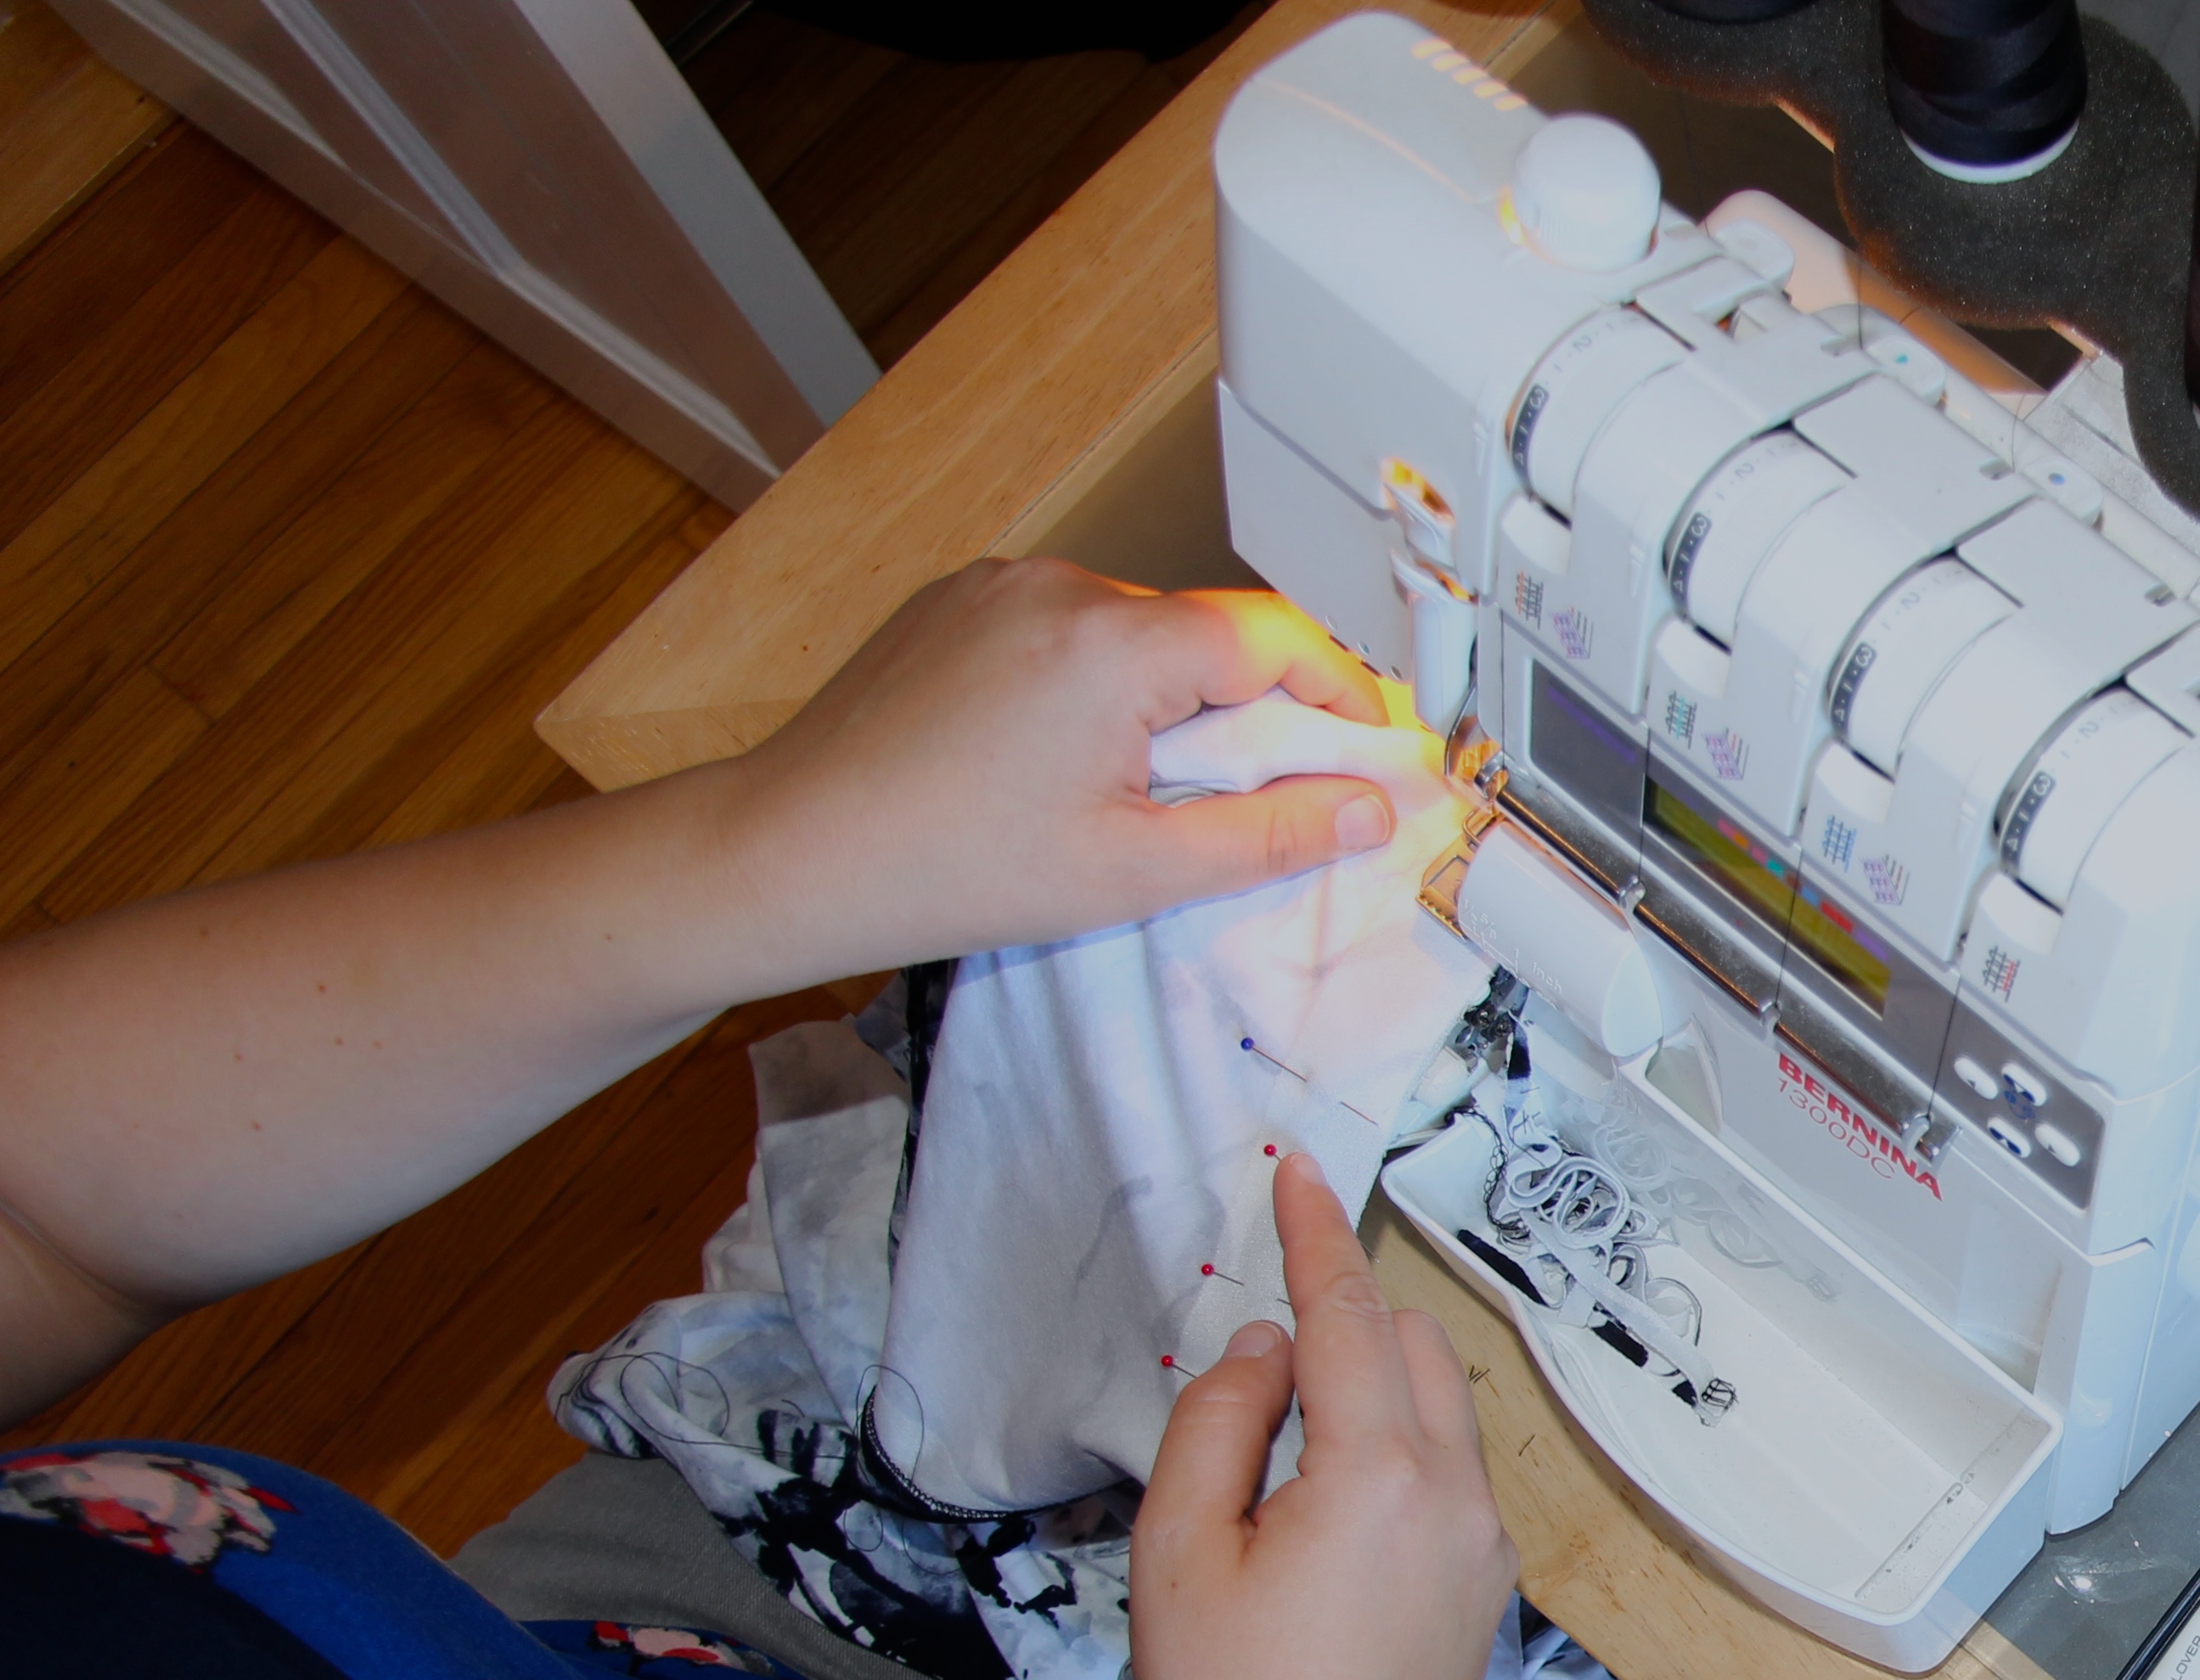
Now, start to pin the sleeve to the armhole. It’s going to get very mushed up (which is why the photos look a bit weird), but it’s possible! I start by pinning the side seam edges together. Pin the pieces together flat from the side seam to the first notch. Then, you’re going to find that there is more fabric on the sleeve than there is in the armhole – you are going to need to ease this in (more on that in a second). To prepare, evenly pin the sleeve to the armhole, all the way up to the shoulder seam, which will mean you have little bumps of the excess sleeve between each pin.

Now, repeat this for the upper part of the armhole.

Now, we’re going to transfer the pins to the other side. The reason is that when you’re sewing, you want the longer side that has to be eased in to be on the bottom, next to the feed dogs – they help you ease in the excess fabric. So, flip your dress over to the other side, and carefully transfer the pins from being on the sleeve side to being on the dress side (you’ll know you’re doing it right if the shoulder seam is now facing up).

Over to the machine! The name of the game is to go slowly. Sew as normal until you reach the first notch. Then, you need to start easing the sleeve into the armhole. To do this, you need to gently pull on the armhole to stretch it enough so that the sleeve will match up with it (this is one reason why it’s crucial to use knit stay tape and not woven – if you use woven, it won’t stretch!). Try to sew steadily, especially when you go over the shoulder seam, which has a tendency to make the machine jump. Keep on feeling underneath the fabric to make sure that the sleeve is totally flat.

The most common problem when doing this is having little tucks on the sleeve. If you have this, just use a seam ripper to take out an inch or two of stitching, and then go back in, and stretch and sew it again – believe me, I am very familiar with doing this 🙂
Got it done? Back over to the ironing board – press your seam towards the sleeve over your ham to maintain the curve. I also like to press it from the right side too (though again, some folks don’t press at all when sewing with jersey.. it’s a personal choice!).

Finally, if you’re using a serger, serge the cuff edge of the sleeve – this is to prepare for the next step. If you’re using a sewing machine you can skip this step.
Phew! The trickiest bit is over! How did it go, wrapalongers?
p.s. if my photos weren’t clear enough, here’s a similar tutorial from Gillian at Crafting a Rainbow.

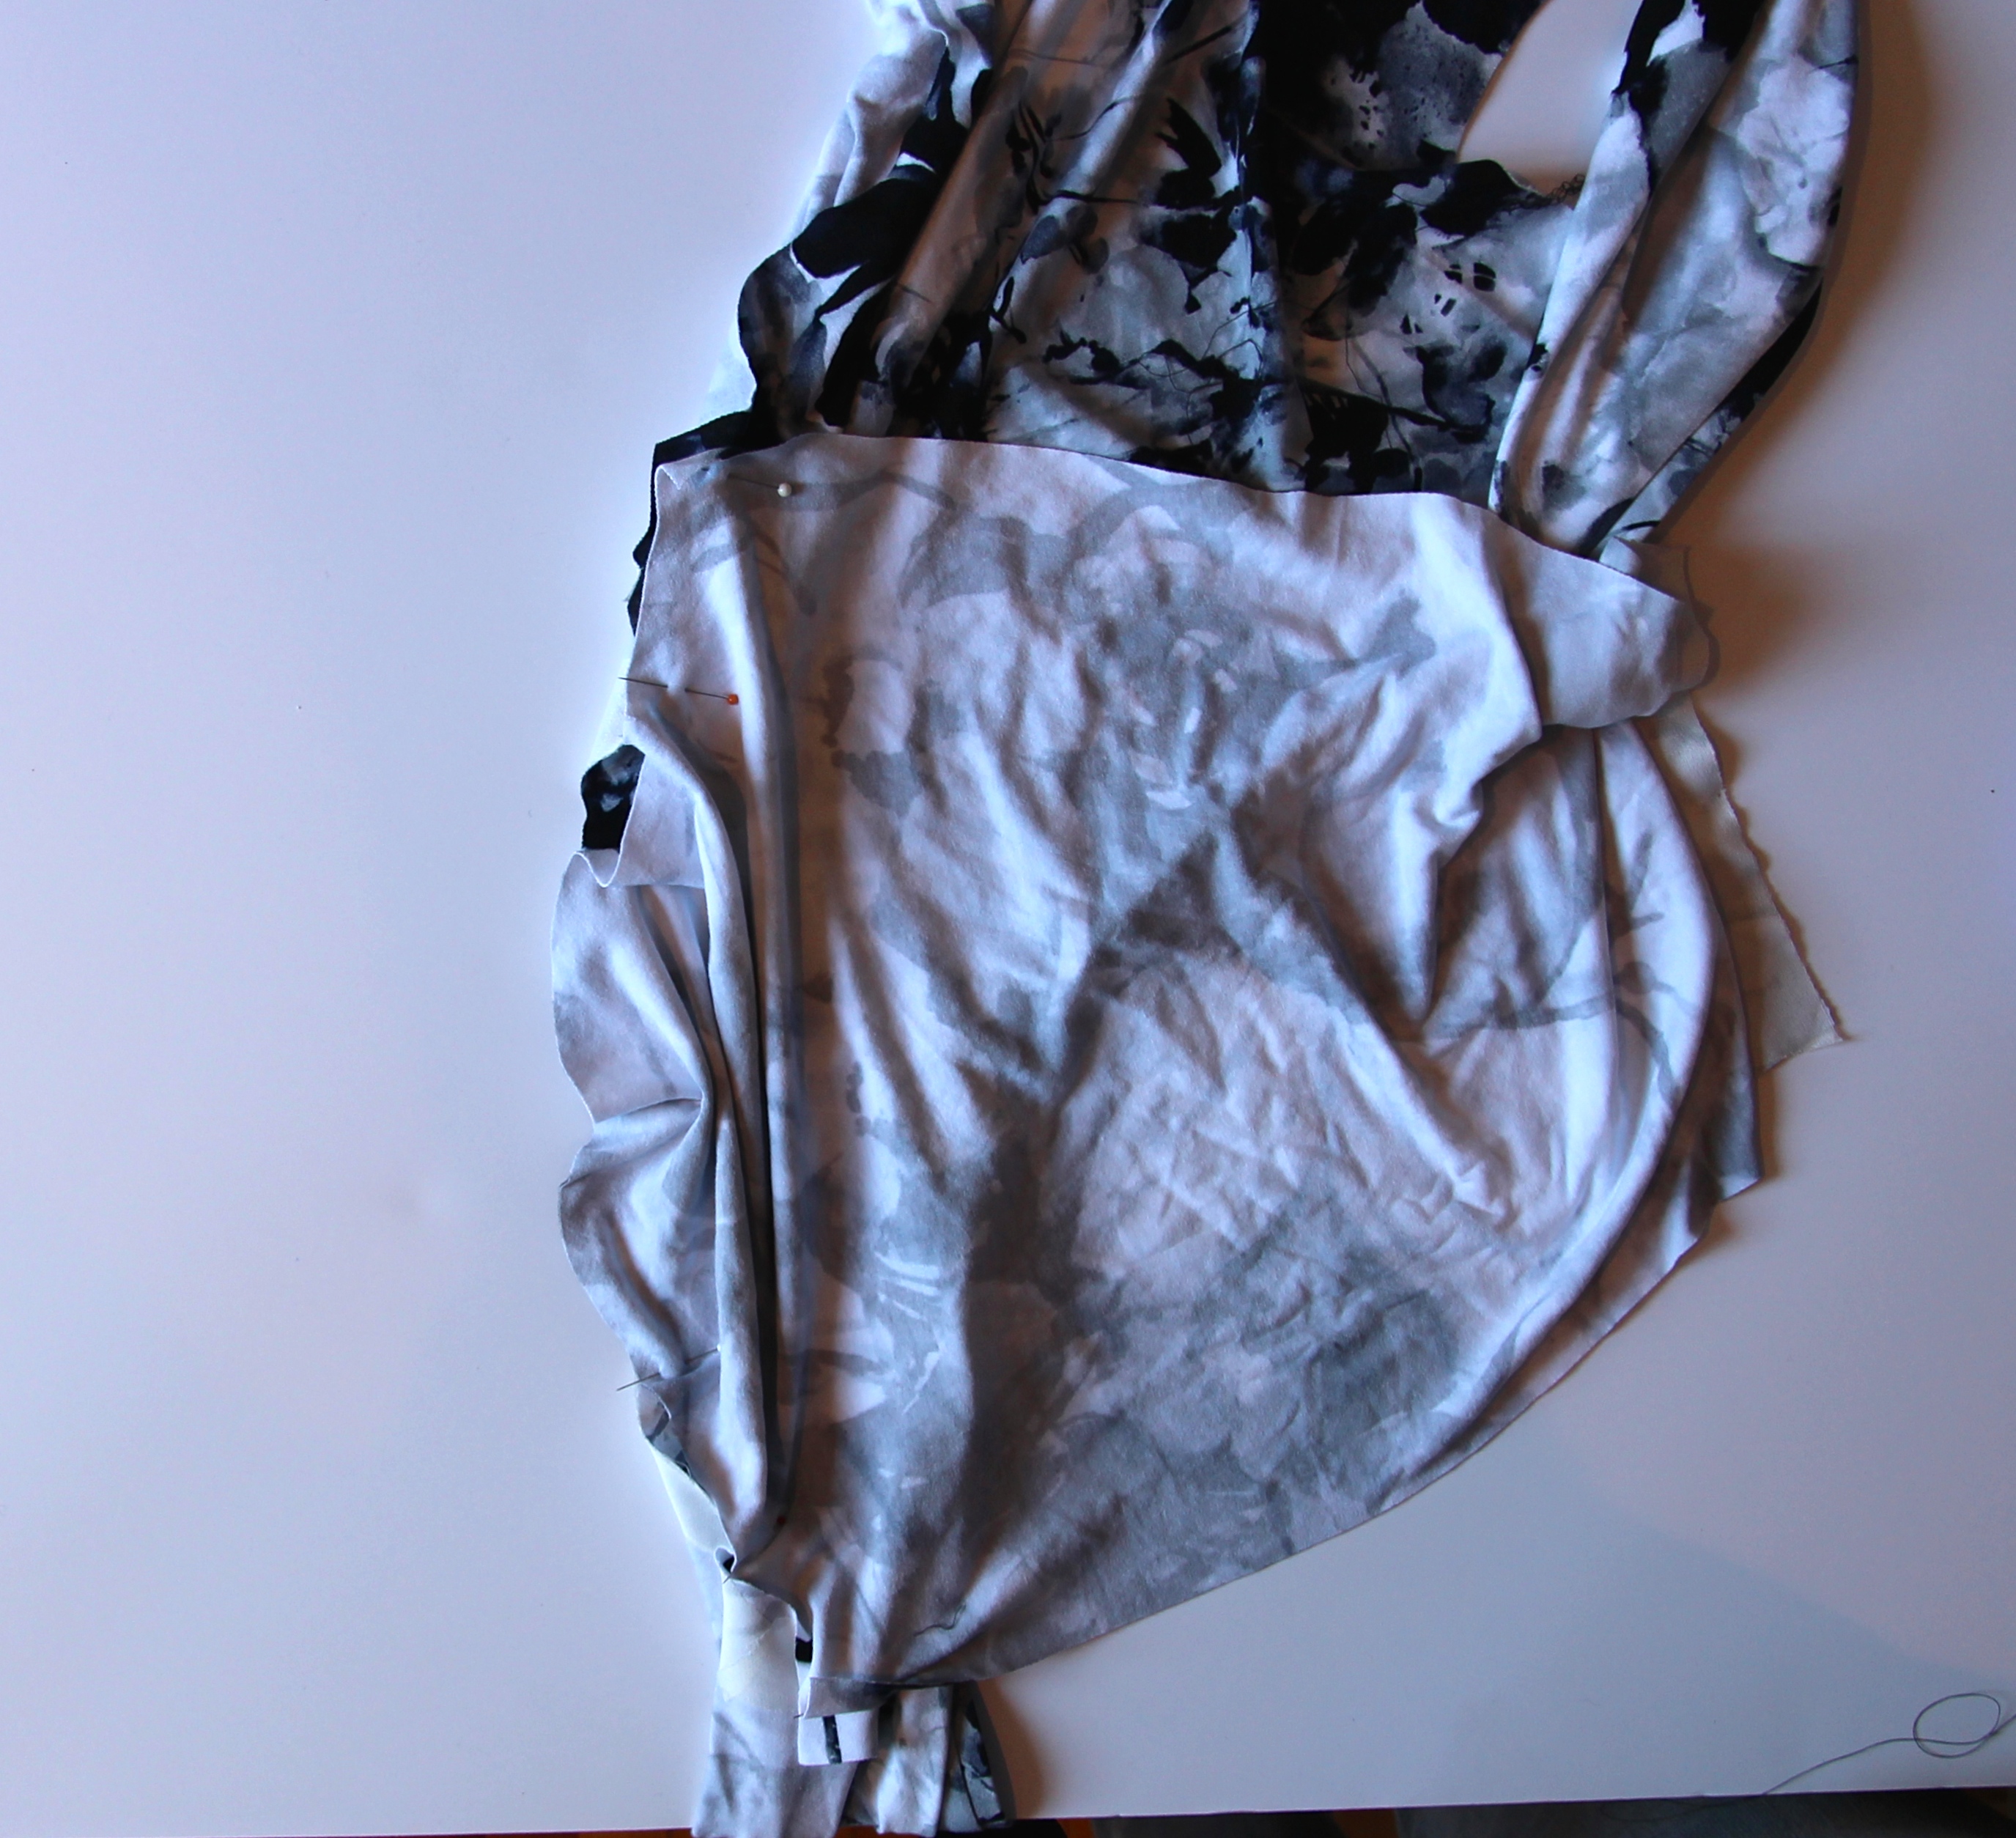
Late to the party (as per previous comment on previous post!!)… But catching up with Butterick 5898 (Connie Crawford wrap dress in stretch fabric)…
Get to this point and think ‘yes! Flat sleeve insertion yippee!!’ – only to discover that I’ve followed the pattern instructions too mindlessly and have already stitched my side seams….
*No* flat sleeve insertion here anymore. Um, blast!
But having said that, dress is looking ok so far!!
Gillian – in Sydney
Sleeves are in here too! I think I’ve managed that beautifully! Seriously, the sleeves are the the best looking features of my dress so far, because I had some serious nerve-wrecking problems with my thread tension and my double needle yesterday for the neckline. I’m definitely going to buy a serger in the near future…
Thanks for the great advice on the sleeves, Jenny!
Very glad to hear it worked!
Sleeves are in! 🙂
Oh, and I definitely need to buy a ham, lol!
Woo hoo!
Sewing Ninja moves! I took the plunge and bought a Moneta, and when I’ve finished that a wrap dress is next! I must say all your posts makes everything look reasonably do-able. I just need to turn off all the “knits are tricky, knits are scary, sleeves are tricky, sleeves are scary” voices in my head. Um, maybe I shouldn’t have said that last bit, but I’m not the only one am I? 🙂