Today I’m sharing an adjustment that I have to make pretty often: making the waist bigger on a pattern. My waist is around 40 – 41″, and my hips are 46 – 47″, which means I’m usually a size or two bigger in the waist than hips, and my waist is actually often off the sizing chart of a pattern. I find that it’s easier therefore to find the size that will fit my hips, and widen the waist accordingly… and it’s actually a pretty simple adjustment to make. If you’re an apple, rectangle, or upside-down-triangle (like me), you may find you need to do this too.
Most recently I did this on my Ginger Jeans (view A), and I’ve also done it on a variety of skirts in the past. This technique works for any reasonably fitted trousers or skirts. If your garment has darts, a quick and easy alternative is simply to not sew the darts!
Disclaimer: I’m not a fitting expert! I’m just sharing what works for me.
I’m going to be demonstrating on the front of a skirt piece. Bear in mind, you need to go through exactly the same thing on the back.
1. Measure your waistline, and compare to the finished garment waist measurement – it’s important to do that rather than compare to the body measurement, as patterns have wildly different amount of ease. You might find out you fit in a size you wouldn’t have thought would work! If there is no finished garment measurement, then get your tape measure out and measure the pattern.
Calculate the amount you need to add : finished garment – waistline measurement + required ease (most waistbands need at least a little ease for when you sit down!). Then, divide that by 4, as you’ll be adding a little extra to the front left and right, and back front and right. This amount is what you’ll be adding to your pattern piece.
For example:
Finished measurement: 37 inches
My waist: 40 inches
Ease I want: 1 inch
So to each piece I need to add: (40 – 37 + 1) / 4 = 1 inch.
2. Draw your seam allowances onto the pattern.

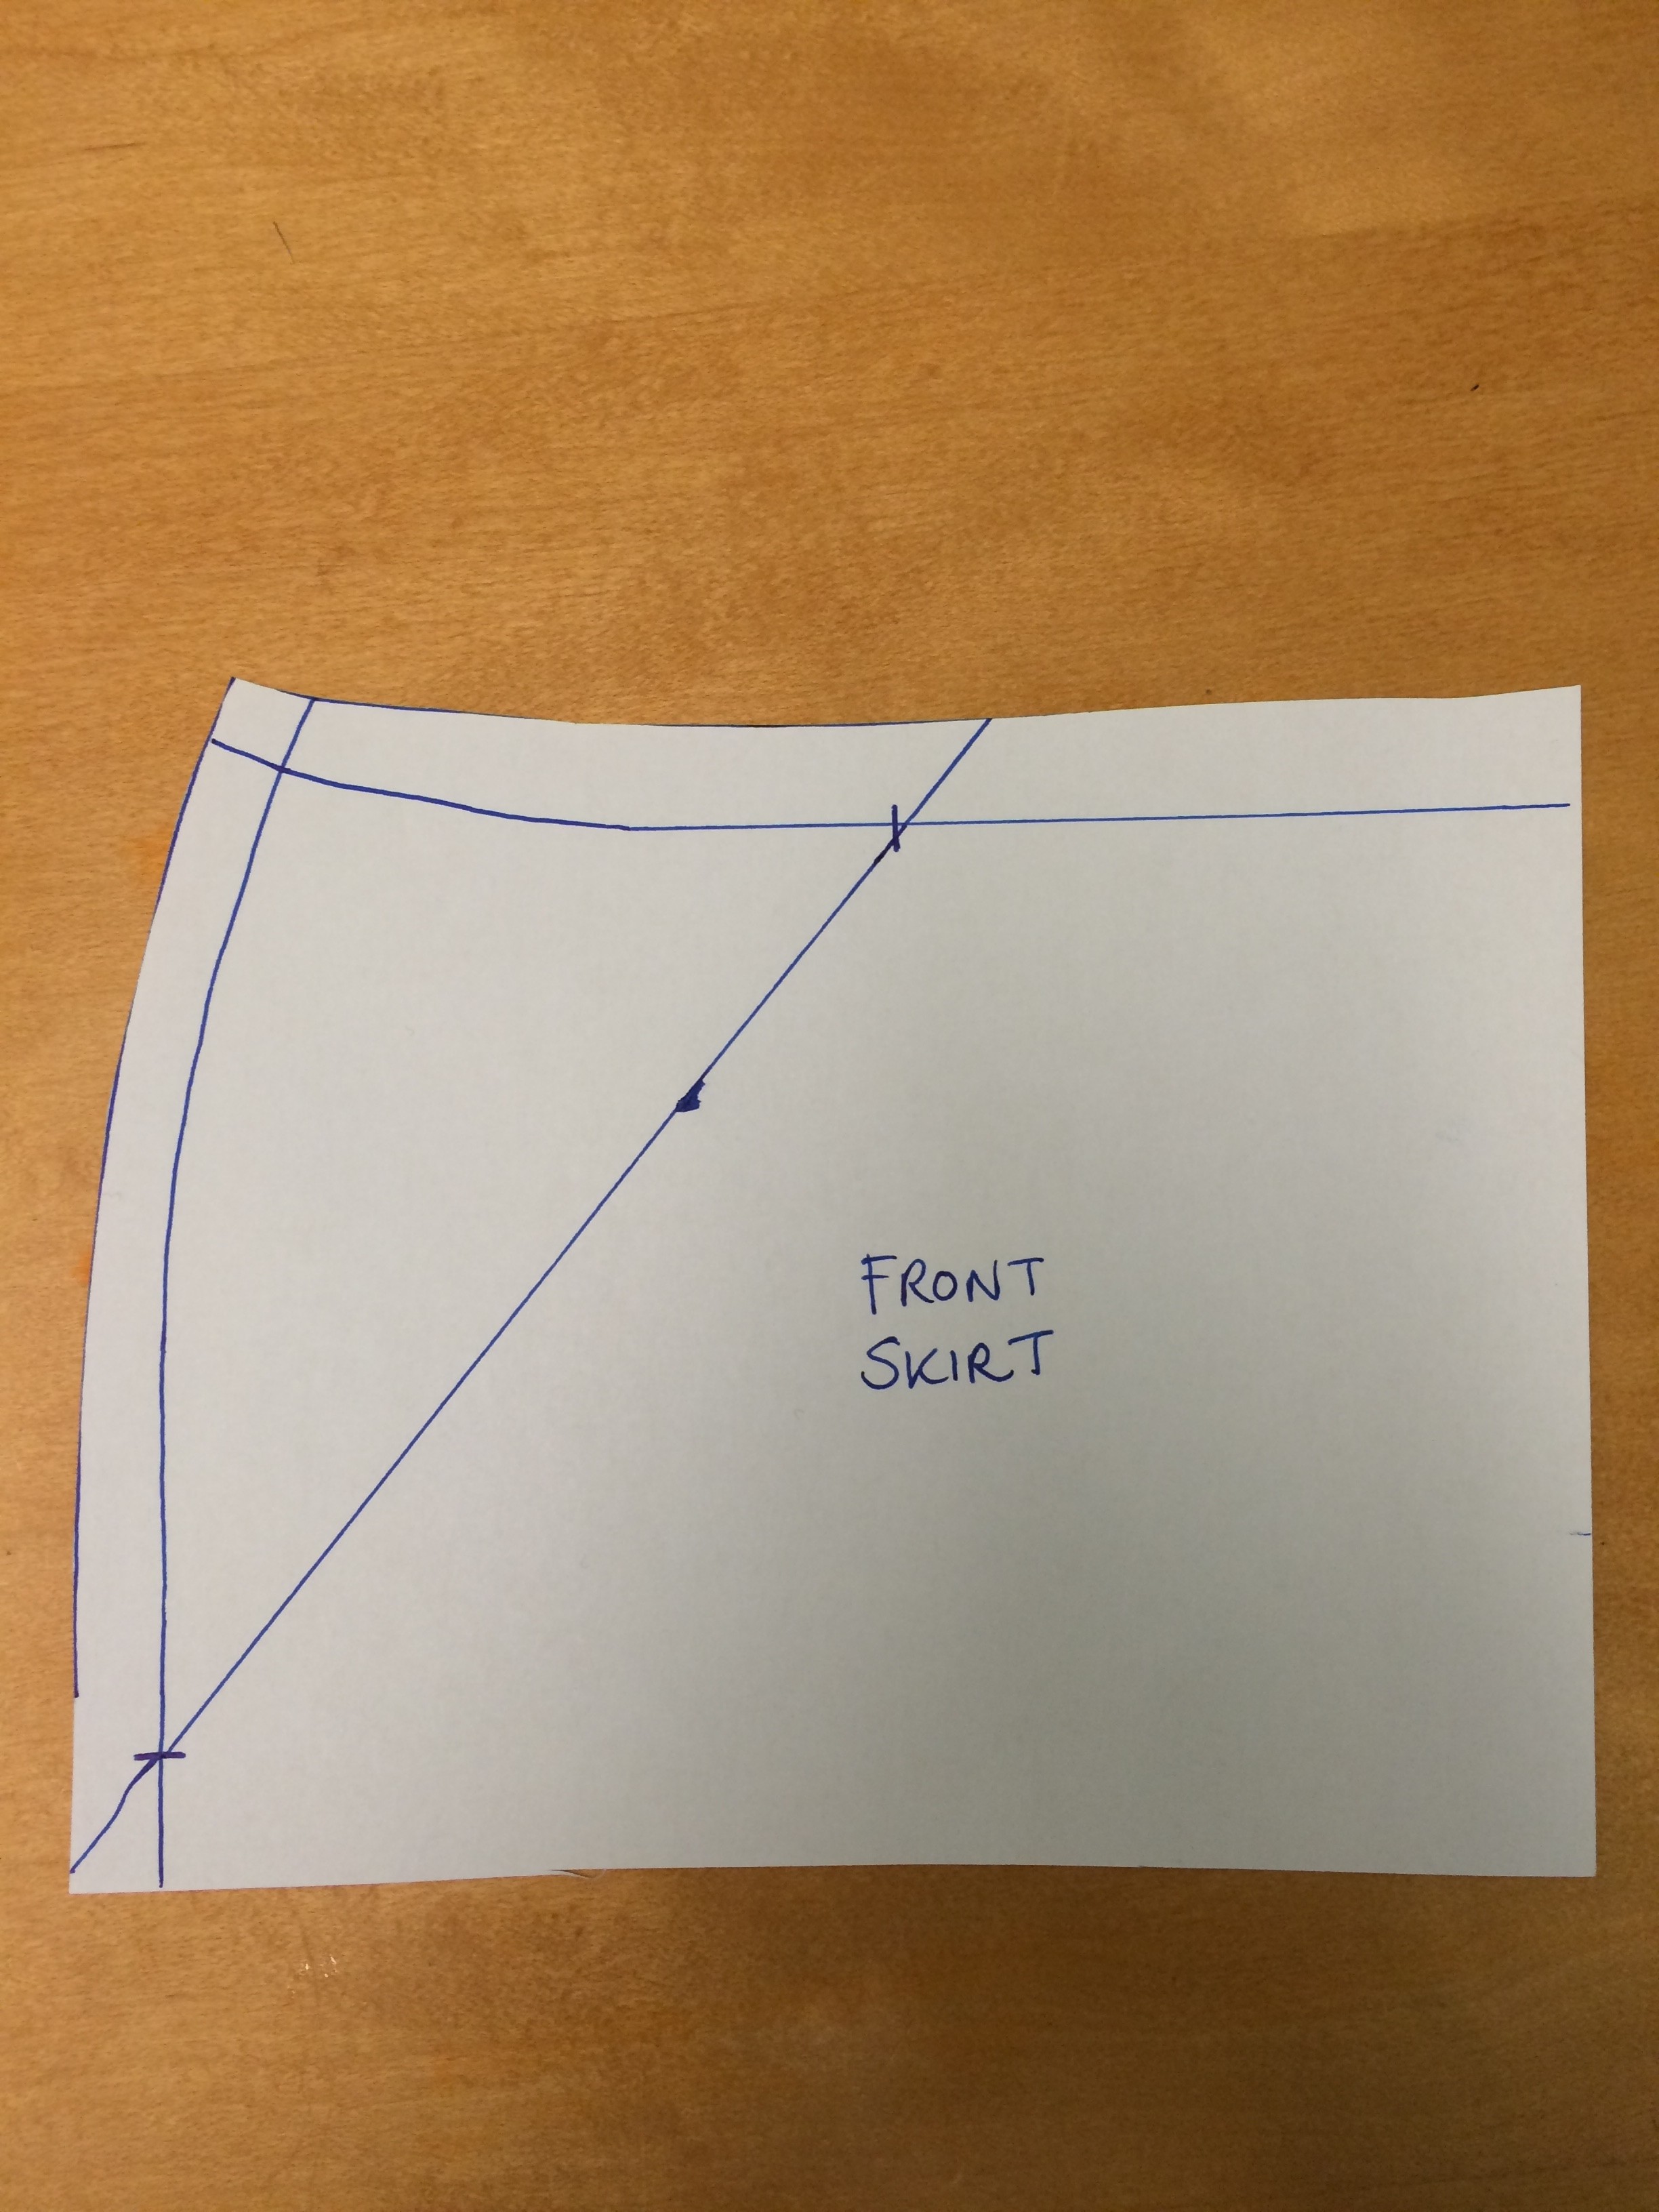
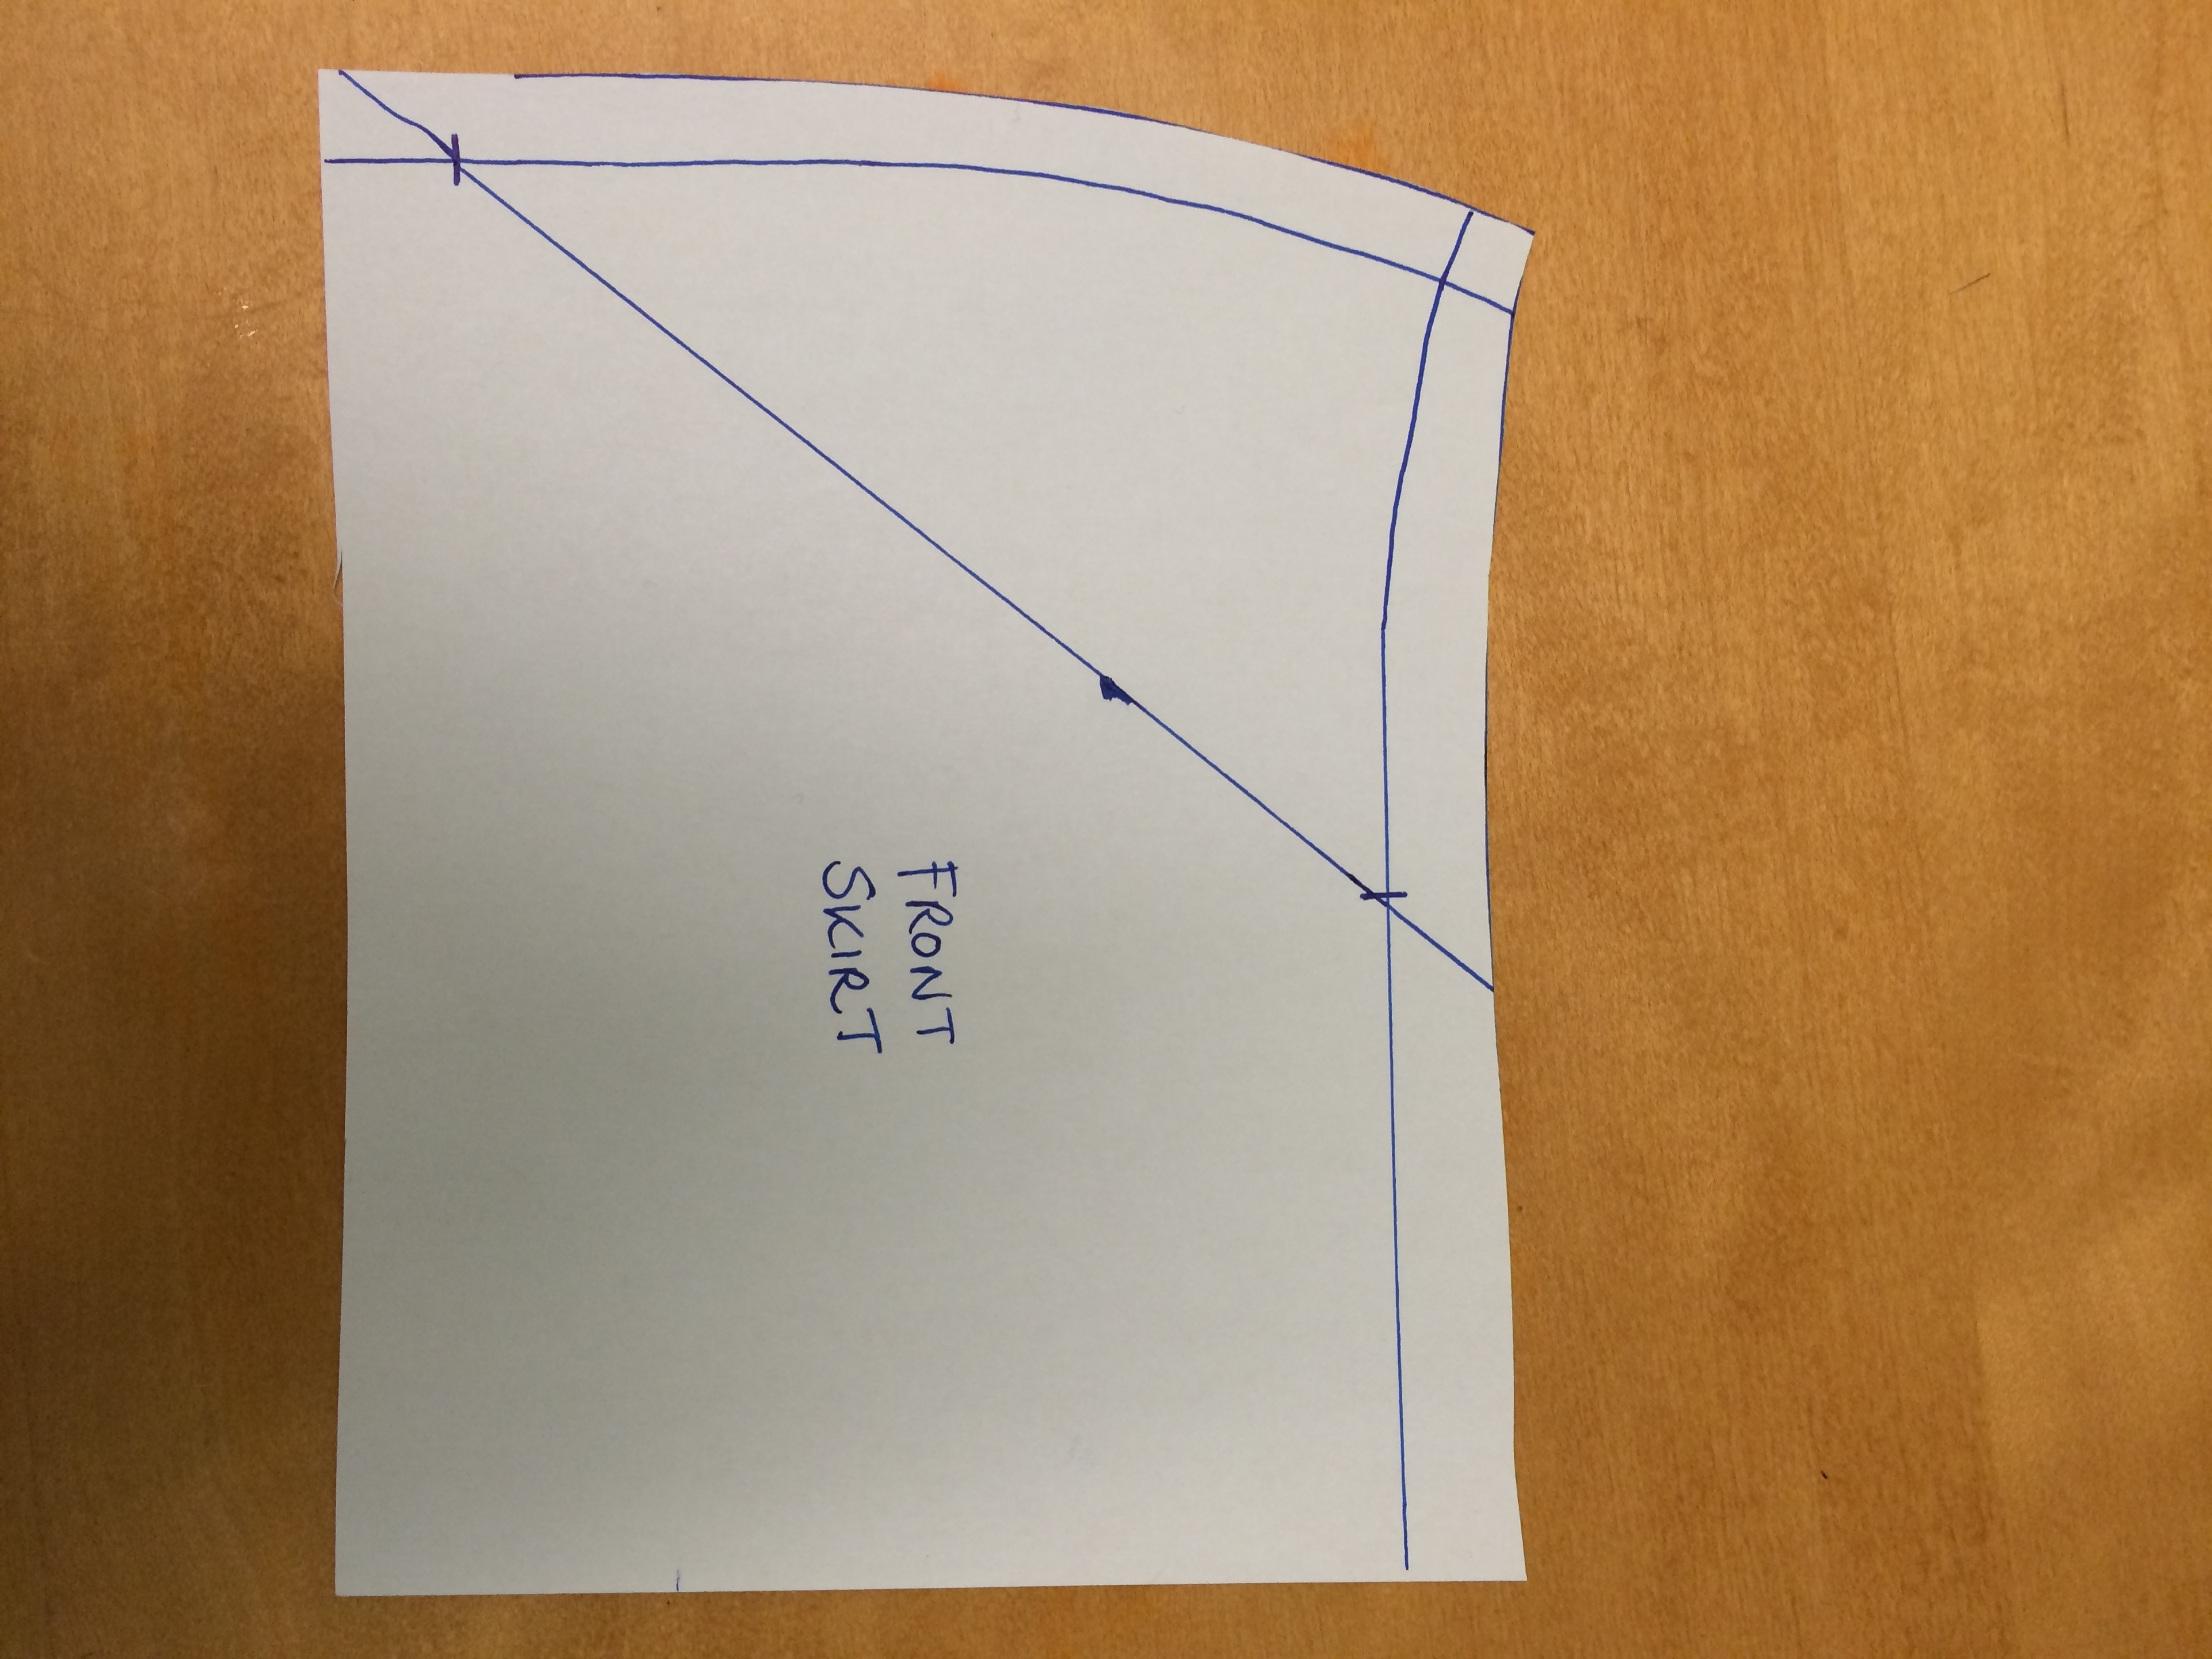
3. Draw a diagonal line from the widest part of the hip, at about a 40 degree angle up to the waistline. Don’t worry too much about the exact angle of the line – as long as it looks roughly like this you’ll be fine. If you also need extra through the hips, you might want to start the line a little lower to give yourself more room.
4. Draw another line starting at the top left corner where the waist seam and side seam meeting, going diagonally down to meet the first line. Again, don’t worry too much about the angle.

5. It’s cutting time! Cut down line 1 from the waistline down, stopping at the seam allowance on the side seam. Now, take a little cut through the rest of the line in the seam allowance, starting at the side seam – this will form a tiny hinge just at the side seam. Spread out the two pieces, to add roughly the amount of extra length you need at the waist.

6. You may have noticed above that the waistline was all wonky… That’s what the second line is for! Cut the second line, starting at the junction where it meets line 1, up to the seam allowance. Again, make a small cut in the other side so there’s a hinge at the seam allowance.
Now, slide the triangle you’ve made down so that the waistline is now level again. Re-adjust the pieces to make sure that the gap at the waistline is exactly what you want to add (your additional length divided by 4).

7. Put some new paper behind the pattern, and tape into the gap

8. And there you are! You have an even waistline that has the additional length you need, and you haven’t changed the length of the hip curve.

9. Make exactly the same changes to the back piece, making sure that the lines you mark and cut are at exactly the same point on the piece.
10. If you have front pockets, you may also need to re-adjust them to meet this new skirt front. Make a stack of your new skirt front, then the old pocket, and then trace over a new pocket piece that matches the new waistband and hip angle.
11. If you have a waistband or a facing, line it up with the adjusted piece, mark on where you added your length, cut the waistband across there, and add the same amount of length.
So that’s it! Once you’ve done it a few times it literally takes 2 minutes, and no more digging waistbands. HURRAY FOR SEWING!


Oh my goodness-this is what I’ve been needing forever! Thank you so much for this tutorial! It’s just about that time of year for summer pants, shorts and skirts and I’ve been dreading faffing around with adding width for the belly! This is SO much easier than everything else I’ve tried!
Wow! The most h Loftus tutorial on how to w to do this that I have found. I’ve been trying to understand how to make this adjustment forever. Thank you!!!
Oh. Mah. Gawd. I am NOT even kidding, I’ve been sewing for 35 years, and never have I seen this. Now, it’s only recently that I NEED this adjustment, I’ve been an hourglass with a honking FBA my whole life until recently, but I’ve just been stuck making elastic waisted crap out of stretch fabric to get through the summer. Fabulous, darling, FAB-YOU-LUSSSS.
Thanks so much for this. I’m a new sewist and just made my first Colette Macaron skirt from the book. Wish I read this first, as I went by my waist size and the skirt is a bit flared instead of straight, because I sized based on my waist, not my hip. I’m an apple shape so I will likely need this adjustment for everything I make. This is so good to know!
Wow that looks SO much easier and better than fiddling around with re-grading between sizes! Thanks so much for this, I’m book marking it for when I finally pluck up the nerve to make my first pair of trousers!
Thanks so much for this!! makes it all so clear, I’ve tried just adding to the side seam of the waist but this is much better
Nice work! Clearly shown, nicely done. This is one of those examples I try to show my kids as to WHY algebra is something you need to know (“aw Moooommmmmm”). Thanks!
Thank you for this. I have tried another method and it didn’t really seam (seem!) to work. I am going to try this method for sure.
Thank you so much for this tutorial.. So easy to understand… I can see where this would help the rounded belly , where as I have been adding to the sides.. Will try this.
Thanks for a great tutorial. This is such a great way to do it as it doesn’t skew the grainline. Xx
Jenny, thank you for the tutorial! I only recently started having to adjust my patterns in the tummy area and never thought of this method! I just wanted to clarify the math. Are you adding 1″ for ease or subtracting? If you subtract 37 from 40, it will be 3″. Plus 1″ will be 4″, and divided by 4 would equal 1″, not 1/2″. True?
AHHH good catch! I’m going to change it in the article but I’ll leave this comment here so people don’t think you’re crazy 🙂
I appreciate that! 🙂 but hey, if the skirt fits, maybe you don’t need those extra 2 inches! Numbers are just numbers. My waist is 39-40. When they did biometric screening at work last month, I thought I would save them the trouble and told them my waist was 39 inches. The lady was like Oh, we still have to measure. And so she did and she got 37″. They must have some magic measuring tape!
Awesome tutorial! I’m used to just adding a little to each side, but I see how this method maintains the integrity of the hip curve.
I will have to try this method. I have a pair to do over and this might just do the trick. When I based the pants on my hips the turned out way to big so I will do this adjustment instead and see how it goes. Now all I need to do is sit still and take them apart, lol.
This is so helpful, and exactly what round tummied me needs to learn how to do. Thank you so much!